
Inspired by Pinterest (of course), we just completed a fun project of painting pumpkins to look like globes. It was a big undertaking, but well worth it. We made these globes during the first three weeks of our Friday co-op. We're doing an entire year of "Around the World" Geography and this was the perfect "kick-off" project. Here are some pictures and a step-by-step how-to guide. Enjoy!
My first completed sample. I had a great time experimenting with different techniques and templates. I ended up with two samples that looked pretty good. Then the challenge became figuring out how to make it do-able for 20 children in grades 1-6.
 |
Hauling them down the stairs was a big chore... but we managed to get our own little mini-pumpkin-patch set up before the students arrived.
 |
 |


 |
| We managed to keep the mess to a minimum! |


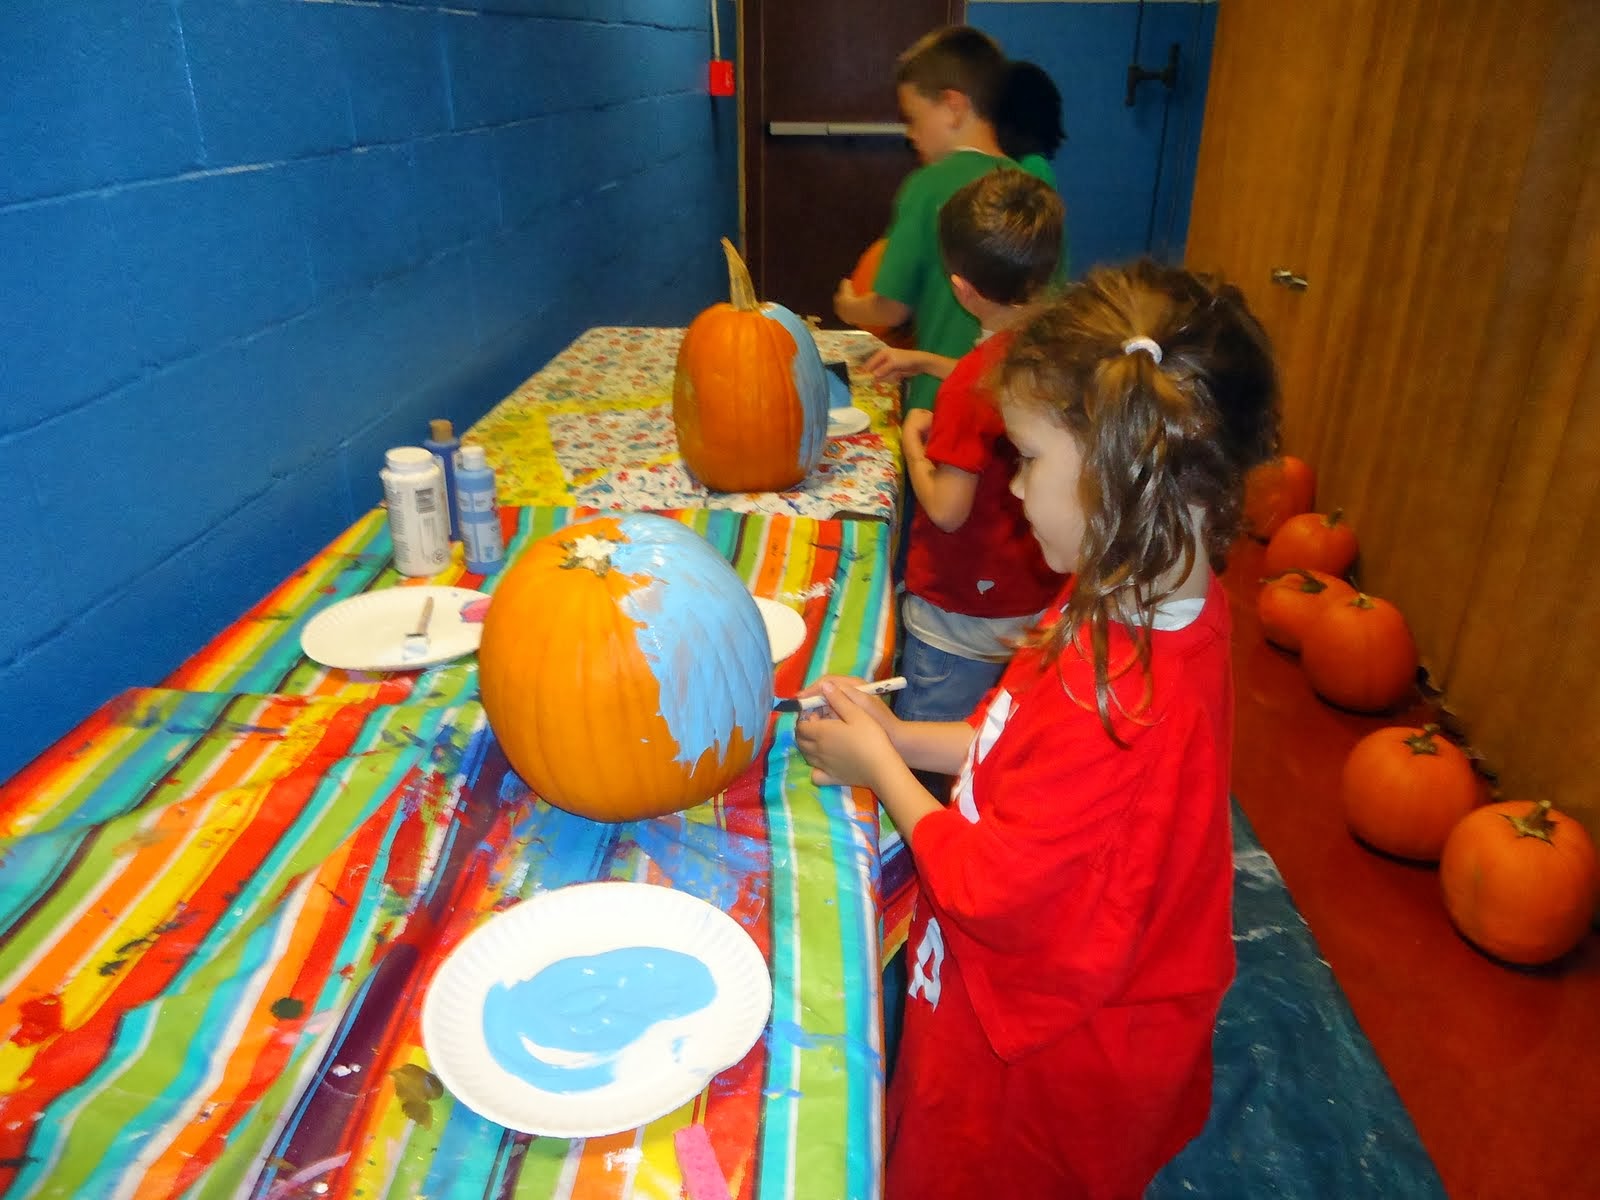
At the second class session we helped the children paint the continents on their pumpkins.
First, we had them paint white on the bottom of their pumpkins for Antarctica.

Next, we had them draw the Equator by stretching a rubber band around the middle of their pumpkin and then tracing around the top of the rubber band with a dark colored Sharpie.

I made foam stencils for all of the continents except Antarctica.(We just had them paint the bottoms of the pumpkins white.) Making these stencils was challenging! It's difficult to get a very basic shape that will translate well onto a round ridged pumpkin.

I attached a duct tape tab to each stencil for gripping.

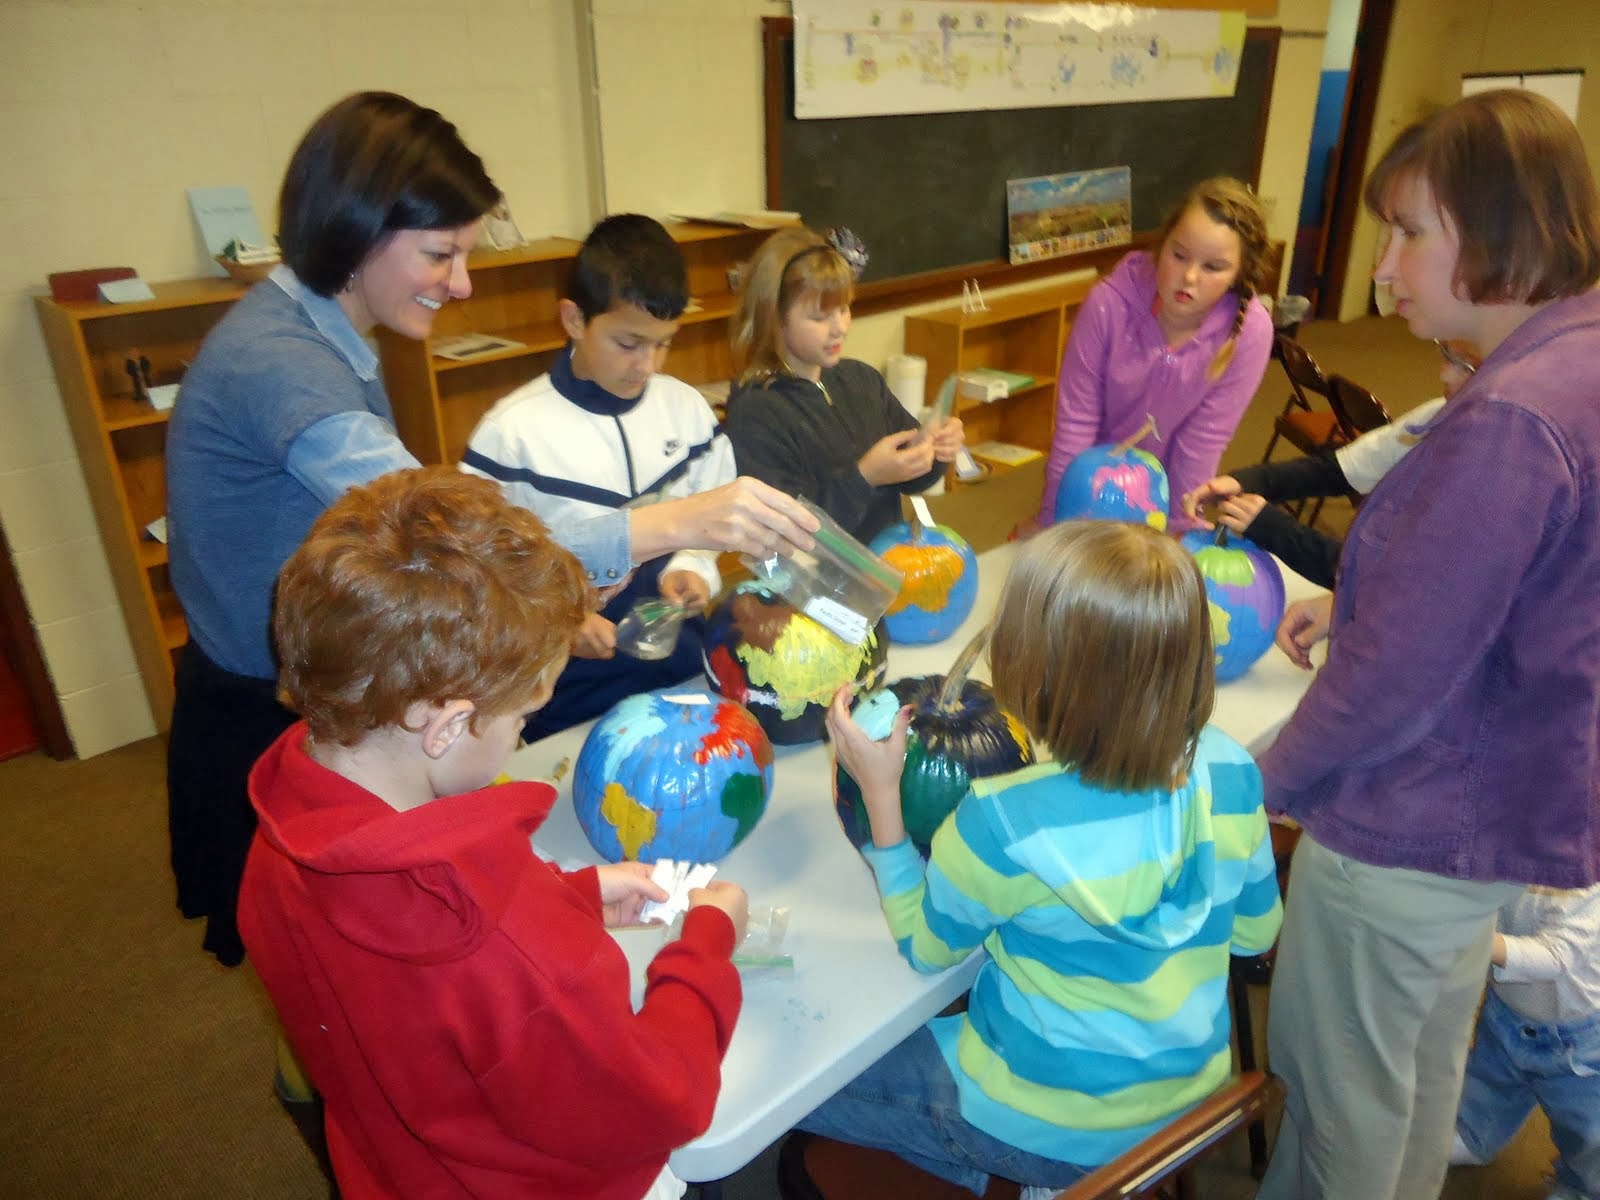
We had the students use brushes to paint a thin layer of paint on each stencil. Then we helped them press the stencils onto their pumpkins. The stamps worked "so-so." They did leave a general shape of the continents. The students had to do a lot of filling in with their brushes though. I was very impressed by how hard they worked. Fortunately, I had lots of moms helping me. Unfortunately, I did not get to take ANY pictures of this process. It was an "all hands on deck" experience.
We had them do Africa first, lining it up with the equator. It was important to have several sample pumpkins and globes available to help us place the continents in the right spots.

After stamping Africa and painting on the island of Madagascar, we moved on to Asia.
It was fairly easy to place the rest of the continents based on their locations relative to Africa, Asia, and the Equator. We tried to add as many of the islands as we could.


Before the third class session I went in and sprayed all the pumpkins with a glossy sealer. This made them shiny and hopefully kept the paint from peeling easily.
When I made my sample pumpkins, I labeled the continents and oceans with a Sharpie. I decided to make laminated tags for the children to use as labels for their pumpkins. At our third class session they used flat thumbtacks and/or straight pins to attach the labels.


The children worked very hard on these pumpkins and they are very proud of them. I think they turned out great!


Love these! Thank you for sharing. I shared it on Pinterest!
ReplyDelete